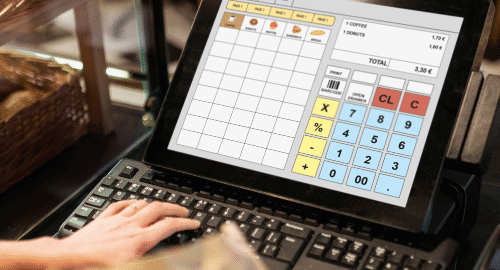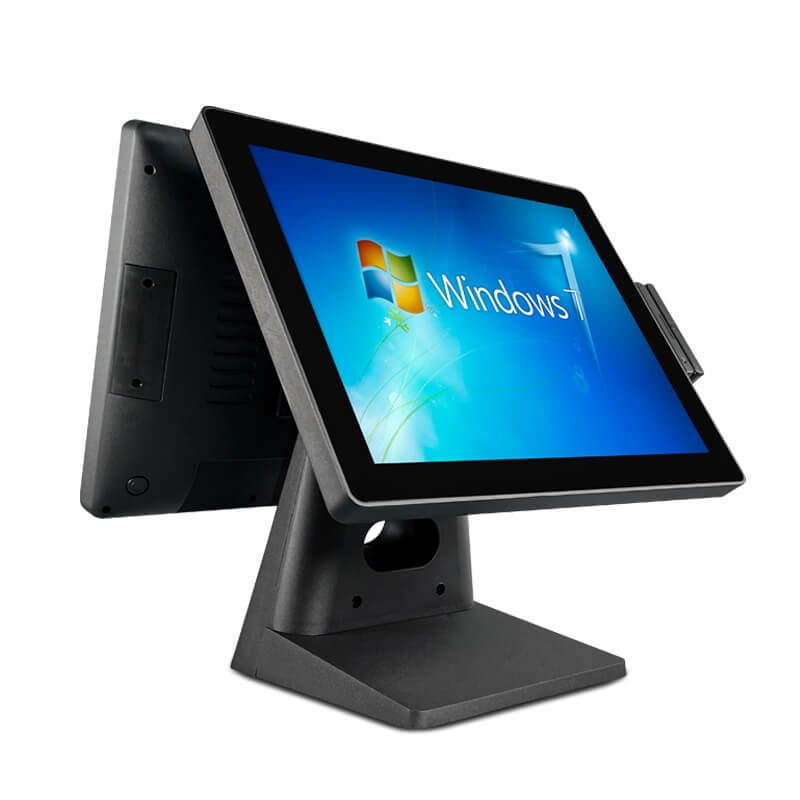
In the fast-paced world of retail, efficiency and accuracy in managing sales, inventory, and financials are critical. Integrating your Retail Point of Sale (POS) system with QuickBooks Online can streamline these processes, making your business operations smoother and more efficient. This guide will walk you through the steps to successfully integrate and use Retail POS with QuickBooks Online.
Why Integrate Retail POS with QuickBooks Online?
Integrating your Retail POS with QuickBooks Online offers numerous benefits:
- Streamlined Operations: Automatic synchronization of sales and inventory data.
- Accurate Financial Records: Real-time updates ensure your financial data is always current.
- Enhanced Reporting: Comprehensive reports on sales, inventory, and financials.
- Time Savings: Reduces manual data entry and the potential for errors.
Step-by-Step Guide to Integration
1. Choose a Compatible POS System
First, ensure that your POS system is compatible with QuickBooks Online. Some popular POS systems that integrate well with QuickBooks include:
- Square POS
- Shopify POS
- Lightspeed Retail
- Vend POS
2. Set Up Your QuickBooks Online Account
If you don’t already have a QuickBooks Online account, you’ll need to set one up. Choose a plan that fits your business needs. QuickBooks offers several plans, including Simple Start, Essentials, Plus, and Advanced.
Setting Up QuickBooks Online:
- Visit the QuickBooks Online website.
- Choose the plan that suits your business needs.
- Follow the prompts to set up your account, including entering your business details and financial information.
3. Connect Your POS System to QuickBooks Online
Once you have both systems in place, the next step is to connect your POS system to QuickBooks Online. The exact steps may vary depending on your POS system, but generally, you’ll follow these steps:
For Square POS:
- Log in to your QuickBooks Online account.
- Navigate to the “Apps” menu and search for “Square.”
- Click “Get App Now” and follow the prompts to connect your Square account to QuickBooks.
For Shopify POS:
- Log in to your QuickBooks Online account.
- Navigate to the “Apps” menu and search for “Shopify.”
- Click “Get App Now” and follow the prompts to connect your Shopify account to QuickBooks.
For Lightspeed Retail POS:
- Log in to your QuickBooks Online account.
- Navigate to the “Apps” menu and search for “Lightspeed.”
- Click “Get App Now” and follow the prompts to connect your Lightspeed account to QuickBooks.
4. Configure Your Integration Settings
After connecting your POS system to QuickBooks Online, you’ll need to configure the integration settings to ensure data flows correctly between the two systems.
Key Settings to Configure:
- Sales Tax Mapping: Ensure that sales tax collected through your POS is correctly mapped to QuickBooks.
- Product and Service Mapping: Match your POS products and services with those in QuickBooks.
- Payment Methods: Ensure payment methods in your POS (cash, credit card, etc.) are correctly mapped in QuickBooks.
5. Sync Your Data
Once your settings are configured, you can start syncing your data. Most integrations offer an initial sync and ongoing automatic syncs.
Initial Sync:
- Perform an initial sync to transfer existing sales, inventory, and customer data from your POS to QuickBooks.
- Review the data in QuickBooks to ensure it has transferred correctly.
Ongoing Syncs:
- Set up automatic syncs to ensure that new sales and inventory changes are regularly updated in QuickBooks.
6. Monitor and Review
Regularly monitor the integration to ensure that data is syncing correctly. Run reports in QuickBooks Online to verify that sales, inventory, and financial data match what’s recorded in your POS system.
Regular Checks:
- Sales Reports: Verify that sales data matches between your POS and QuickBooks.
- Inventory Reports: Ensure inventory levels are accurately reflected in both systems.
- Financial Reports: Cross-check financial reports to ensure accuracy.
Troubleshooting Common Issues
- Data Discrepancies: If you notice discrepancies in sales or inventory data, double-check your integration settings and mappings.
- Sync Errors: Occasionally, sync errors may occur. Check your internet connection and reattempt the sync. If issues persist, consult the support resources for your POS system and QuickBooks Online.
- Sales Tax Issues: Ensure that sales tax rates are consistently configured in both systems.
Final Thoughts
Integrating your Retail POS system with QuickBooks Online can significantly enhance your business operations by streamlining sales, inventory, and financial management. By following the steps outlined in this guide, you can ensure a smooth integration and enjoy the benefits of accurate, real-time data synchronization.
Investing time in setting up and maintaining this integration will pay off with improved efficiency, reduced manual work, and better insights into your business performance. If you encounter any challenges, leverage the support resources available through your POS provider and QuickBooks Online to troubleshoot and resolve issues quickly.

