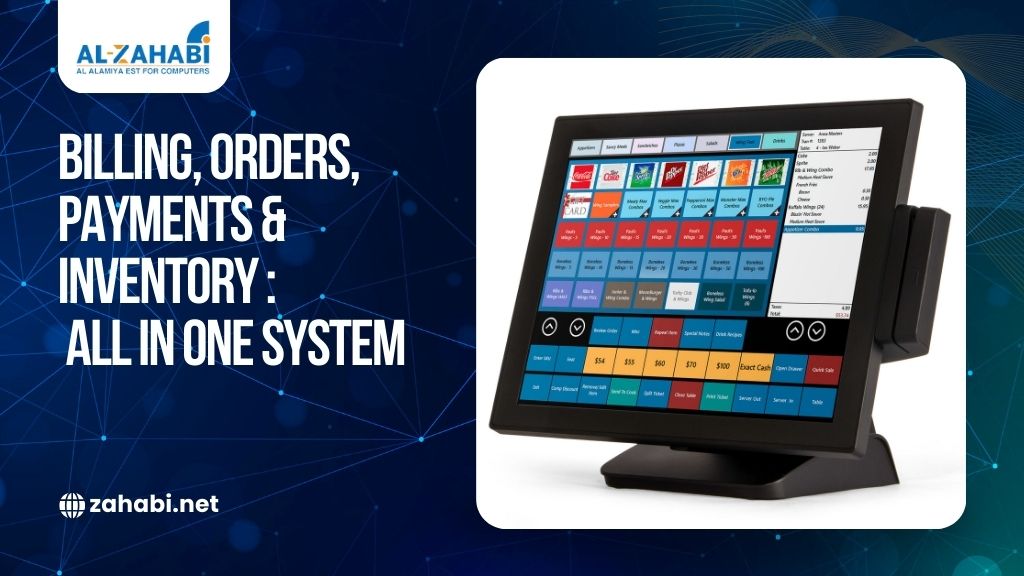
When your business depends on accurate asset tracking or smooth inventory control, the smallest details can make the biggest difference. One of those details is how your barcode labels are printed. If the label sizing is off, the print quality is poor, or the barcode printer isn’t calibrated correctly, you end up with labels that don’t scan, peel easily, or disrupt your workflow.
Many businesses in Kuwait using Tracmor for asset and inventory management eventually reach the same question: “How do I print custom label sizes using my thermal printer without complications?” That’s exactly what this guide will help you solve.
Whether your labels are large enough for industrial equipment or small enough for handheld inventory items, you’ll learn how to configure Tracmor correctly, how to format your labels, and how to get crisp, accurate prints from your barcode printer every time.
Let’s make the process simple, practical, and smooth.
Why Printing Custom Label Sizes Matters?
Custom sizing gives you more control over:
- How your labels look
- Where they fit
- How well they scan
- How long do they last
Many businesses – right from warehouses in Ahmadi to retail shops in Salmiya to oil & gas facilities in Shuwaikh — use different asset types, and each type demands a specific label dimension. A shelf label isn’t the same as a maintenance tag, and an equipment barcode needs more durability than a standard inventory sticker.
Using a thermal printer gives you sharp printing, fast output, and long-lasting labels. It’s also the best choice when working with Tracmor because thermal printers handle continuous printing, roll formats, and frequent on-demand label runs without ink issues.
If you’re looking for reliable supplies, high-quality direct thermal labels like the Buraq 50mm x 50mm Barcode Labels (ideal for Tracmor and most barcode printers), you can check this.
👉
Understanding How Tracmor Fits In
Tracmor gives you the ability to manage assets and inventory through a cloud-based dashboard. When it comes to printing labels, Tracmor generates the barcode format and content, while your thermal printer handles the physical printing.
This combination gives you:
- Clean, scannable barcode images
- Accurate label templates
- Consistent sizing
- Easy reprinting any time data updates
However, the system will only work correctly if label size settings in Tracmor match the actual label size in your printer. That’s what we’ll walk through next.
Step-by-Step Guide: Printing Custom Barcode Label Sizes Using Tracmor
Step 1: Confirm Your Label Dimensions
Before adjusting anything in Tracmor, start with your real-world label size.
Common barcode label sizes used in Kuwait include:
- 50mm x 50mm (most popular for compact inventory labels)
- 100mm x 50mm (used for shelves or larger equipment)
- 25mm x 15mm (used for very small items)
If you’re unsure which size suits your workflow, start with a standard 50mm x 50mm label like this one. These sizes are ideal because they fit most barcode printer models and work perfectly for small to medium inventory categories.
Step 2: Verify Your Barcode Printer Compatibility
Not all printers can handle custom label sizes. Fortunately, most modern thermal printers do, including:
- Zebra
- Bixolon
- TSC
- Honeywell
- Citizen
A good thermal printer (especially one from a reliable supplier in Kuwait like Zahabi. ensures your barcodes are printed crisply, and your labels stay durable under warehouse or retail conditions.
Check that your printer supports:
- Direct thermal or thermal transfer printing
- Roll-based media
- User-defined label sizes
Step 3: Adjust the Printer’s Label Settings
Before printing from Tracmor, you must inform your thermal printer about the custom label size.
Every brand has its own software or driver:
- Zebra Setup Utilities
- Honeywell PrintSet
- TSC Diagnostic Tool
- Bixolon Utility
Inside your printer utility, set:
- Label width (e.g., 50mm)
- Label height (e.g., 50mm)
- Gap or black mark detection
- Print speed (slower = higher quality)
- Darkness or heat energy
Thermal printers detect label boundaries using sensors, so proper calibration prevents double-printing, misalignment, or cut-off barcodes.
Step 4: Configure Custom Label Sizes in Tracmor
Now let’s set the size inside Tracmor so everything matches the physical label.
In Tracmor:
- Go to Settings
- Click Label Templates
- Select Assets or Inventory Items
- Create a New Custom Template
- Enter your dimensions (e.g., 50mm x 50mm)
- Place barcode, name, category, or item ID fields
- Adjust alignment until everything fits neatly
Tracmor lets you drag and move content blocks so you can match the exact structure of your physical label.
Pro tip: Keep at least 3mm of margin around the barcode so scanner beams don’t pick up edges or blank areas.
Step 5: Print a Test Label
It’s always best to do a test run before printing a full batch.
In Tracmor:
- Select an asset or inventory item
- Click Print Labels
- Choose the template you created
- Send to the thermal printer
Your test label should:
- Scan instantly
- Fit inside the label boundaries
- Have sharp lines with no smudges
- Display text clearly
- Align perfectly with the sticker
If anything looks off, adjust the Tracmor template or printer settings until it looks right.
Discover the role, types, and best practices of thermal transfer ribbons with our in-depth guide “Understanding Thermal Transfer Ribbons: A Comprehensive Guide”.
Step 6: Print in Bulk
Once you’re confident with the test label:
- Select multiple assets
- Choose Bulk Print
- Confirm label quantity
- Print large batches in seconds
This is especially helpful during:
- Annual inventory counts
- Equipment tagging
- Warehouse shelf organization
- New stock arrivals
Tracmor handles the data, and your barcode printer handles the physical output — it’s a seamless workflow.
Considering a barcode scanner for your business? Compare options in “USB vs Wireless Barcode Scanners: Navigating Your Choices for Efficiency”.
Tips for Better Barcode Printing
1. Select labels built for heat
Kuwait’s climate is hot, even indoors. If your warehouse or retail store is exposed to warm temperatures, choose high-quality direct thermal labels that resist fading.
2. Clean your thermal printer every few weeks
Dust can accumulate quickly in Gulf environments and affect print quality.
3. Store label rolls properly
Avoid placing rolls near sunlight or in humid areas — they will darken or curl.
4. Use the right ribbon (if using thermal transfer)
For permanent asset labels, a resin ribbon offers the best durability.
Troubleshooting Common Problems
❌ Labels are misaligned
Your thermal printer may need calibration. Use the printer’s “auto-calibrate” feature.
❌ Barcode won’t scan
Increase printer darkness or widen the barcode on the template.
❌ Extra blank labels print out
The gap sensor may be misconfigured.
❌ Incorrect label size prints
Ensure both the printer AND Tracmor are set to the same dimensions.
Final Thoughts
Printing custom asset and inventory barcode labels doesn’t have to be complicated. When your thermal printer and Tracmor are configured correctly, you get clean, accurate labels that make your entire tracking workflow smoother.
Whether you’re tagging equipment, managing incoming shipments, or organizing shelves, a reliable barcode printer paired with the right label rolls helps you achieve consistency and speed.
If you need dependable supplies in Kuwait, you must consider Zahabi products.


