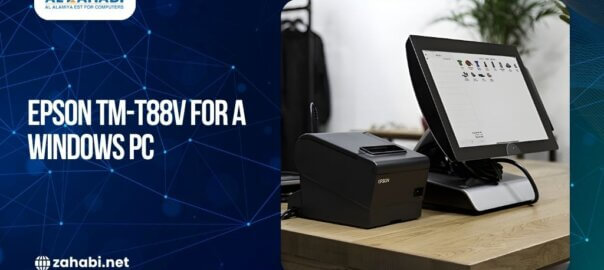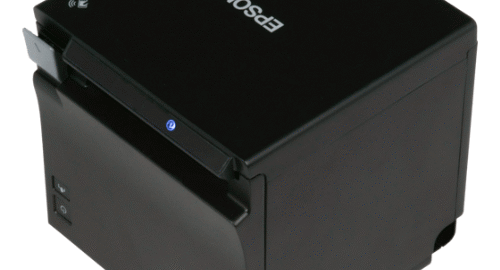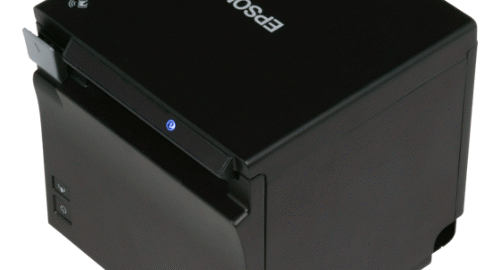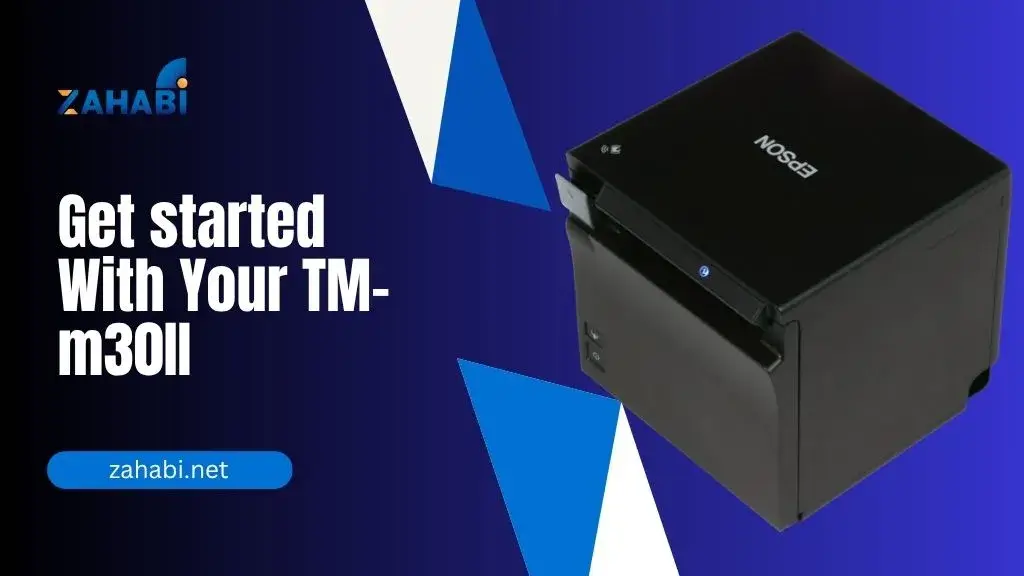
The Epson TM-m30II is a compact, modern receipt printer designed for tablet-based and traditional point-of-sale (POS) systems. Whether you are setting up a retail counter, a food service station, or a mobile POS environment, the TM-m30II delivers fast, reliable printing with multiple connectivity options. This quick setup guide will walk you through the essential steps to get your printer up and running smoothly.
Unboxing and Hardware Setup
What’s in the box:
- Epson TM-m30II printer
- Power adapter and AC cable
- Interface cable (USB, Ethernet, or optional Bluetooth/Wi-Fi dongle, depending on model)
- Paper roll (for testing)
Initial setup steps:
- Place the printer on a flat, stable surface near your POS system or device.
- Connect the interface cable to the appropriate port on the printer:
- Use a USB cable to connect directly to a computer or tablet.
- Use an Ethernet cable to connect the printer to your network.
- For wireless models, insert the Wi-Fi dongle or ensure Bluetooth is enabled.
- Plug in the power adapter and turn the printer on using the switch located on the side or back.
The printer will power up and, if connected to a network, print a status sheet displaying its IP address and other connectivity details.
Read this blog to learn how to set up your Epson TM-m30II for wireless use.
Loading the Paper Roll
- Open the top cover by lifting the latch or pressing the release button.
- Insert the thermal paper roll with the printing side facing down. The paper should unroll from the bottom of the roll, not the top.
- Pull a few inches of paper past the cutter and close the cover.
- The printer will automatically feed and trim the excess paper if correctly loaded.
Software and Driver Installation
For the printer to communicate with your POS software, you need the correct drivers:
- Visit the Epson Support website and locate the TM-m30II model.
- Download the necessary drivers and utilities for your operating system (Windows, macOS, iOS, or Android).
- Install the Epson driver and the TM Utility software, which allows you to configure printer settings, check status, and update firmware.
Configuring the Connection
USB Setup
- Simply connect the printer to your computer or tablet using the USB cable.
- Install the driver and select the TM-m30II as the default printer in your POS software settings.
Ethernet Setup
- Ensure the printer is connected to your router via Ethernet.
- Use the TM Utility or EpsonNet Config tool to locate the printer on your network.
- Assign a static IP address if needed to ensure stable communication.
Bluetooth Setup (optional models)
- Enable Bluetooth on your tablet or POS system.
- Use the TM Utility app to pair the printer with your device.
- Set the printer as the default within your POS software.
Wi-Fi Setup (using optional dongle)
- Plug in the Wi-Fi dongle before turning on the printer.
- Use the TM Utility or EpsonNet Config to scan for Wi-Fi networks.
- Select your network, enter the password, and apply the settings.
Testing and Final Adjustments
Once connected, print a test receipt to confirm the setup:
- Use the POS software or the Epson TM Utility to send a test print.
- Check that the receipt is clear, properly cut, and formatted.
- Adjust paper size, margins, or cutter settings as needed in your system preferences.
If connecting a cash drawer, use the DK port on the back of the printer and configure it through the software settings.
Maintenance Tips
- Use high-quality thermal paper to prevent jams and extend printhead life.
- Regularly clean the printer with a soft, dry cloth.
- Avoid exposing the printer to moisture, heat, or direct sunlight.
- Check for firmware updates periodically through the TM Utility.
Conclusion
The Epson TM-m30II is a powerful yet easy-to-use receipt printer that fits well into various business environments. With its versatile connectivity and compact design, setting it up is straightforward when following the steps above. Whether you are integrating it into a traditional POS or a tablet-based system, the TM-m30II delivers consistent and professional results.

