Printing your own ID cards can seem like a daunting task, but with a bit of preparation and the right tools, it becomes a straightforward process. Here’s how you can do it.
Gather Your Materials
Before diving in, gather all the materials you’ll need. Here’s your checklist:
- Design Software: Programs like Adobe Photoshop, Illustrator, or even Microsoft Publisher can help you create a professional design.
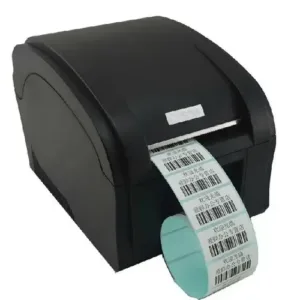
- Printer: Ensure you have a printer that’s compatible with the type of ID card stock you’re using, whether it’s PVC or another plastic material.
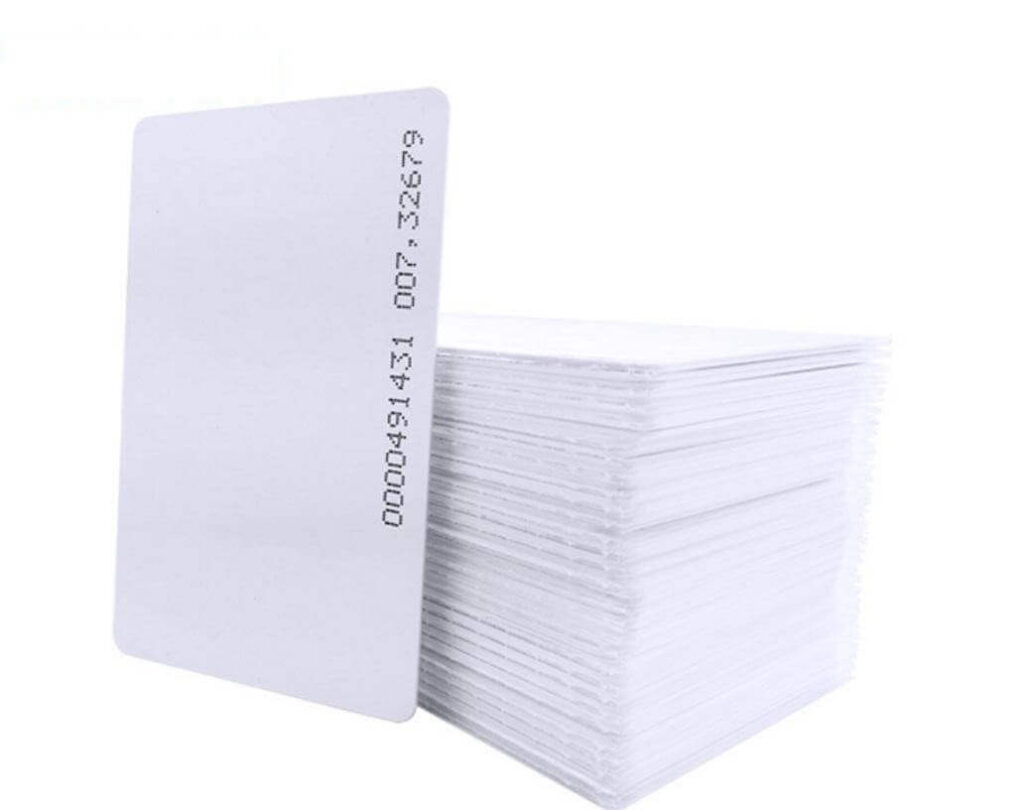
- ID Card Stock: You’ll need blank cards made of PVC or another durable plastic.
- Cutting Tools: While not always necessary, having scissors or a paper cutter can help if your cards need trimming.
Design Your ID Card
Your design is crucial—it’s what makes your ID card stand out. You can create your own design from scratch using design software, or you can customize a pre-made template found online.
Key elements to include in your design:
– Logo or Organization Name: Makes the card instantly recognizable.
– Name: The individual’s full name should be clearly visible.
– Title or Position: This helps identify the person’s role.
– Photo: Including a photo can enhance security.
– Contact Information: Useful for verification purposes.
– ID Number or Barcode: For additional security and tracking.
Printer Setup
Now it’s time to set up your printer. Double-check that it’s compatible with your ID card stock. Each printer is a little different, so consult the manual to make sure you’re loading and printing correctly.
Printing Process
Here’s the fun part—printing your cards. Follow these steps:
- Load Your Stock: Place your ID card stock in the printer’s tray as instructed by the manufacturer.
- Open Your Design: Load your design file in the software you used to create it.
- Check the Page Size: Ensure it matches the size of your ID card stock.
- Test Print: Print a single test card to check alignment and print quality.
- Print the Batch: If the test card looks good, print the rest of your cards.
Cut and Laminate (Optional)
If your card stock comes in sheets, you might need to cut the cards out. Use scissors or a paper cutter for clean edges. Laminating your cards can also extend their lifespan, especially if they’ll be used frequently.
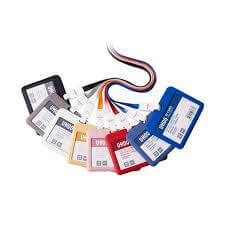
Distribute the ID Cards
Once the cards are printed, cut, and laminated, distribute them to the right people. Make sure everyone knows how to use their new ID cards properly.
For ID cards with unique numbers or barcodes, setting up a tracking system can be a good idea. This will help you manage and monitor their use.
Conclusion
By printing your own ID cards, you not only save money but also gain complete control over the design and functionality. Follow these steps, and you’ll end up with professional, durable ID cards that serve their purpose well. Always keep security in mind and manage the distribution carefully to prevent misuse.
With a little effort and the right materials, you can create high-quality ID cards that look professional and meet your organization’s needs.